D1V Docs / CLI / 4 sections
Use D1V PAI with Codex
Codex is the shortest path: keep the `/v1` base URL and use the native Responses wire protocol.
01
Configure Codex in CC-Switch
- 1Complete CC-Switch setup, then select the Codex app.
- 2Add an application-specific Custom provider named
D1V PAI. - 3Set API Key to
D1V_PAI_API_KEY. - 4Set Base URL to the full
D1V_PAI_BASE_URL:https://pai.d1v.ai/v1. - 5Select native Responses as the wire/API format.
- 6Use an exact model ID returned by
GET /models, save, and enable the provider. - 7Open a new terminal and run
codex.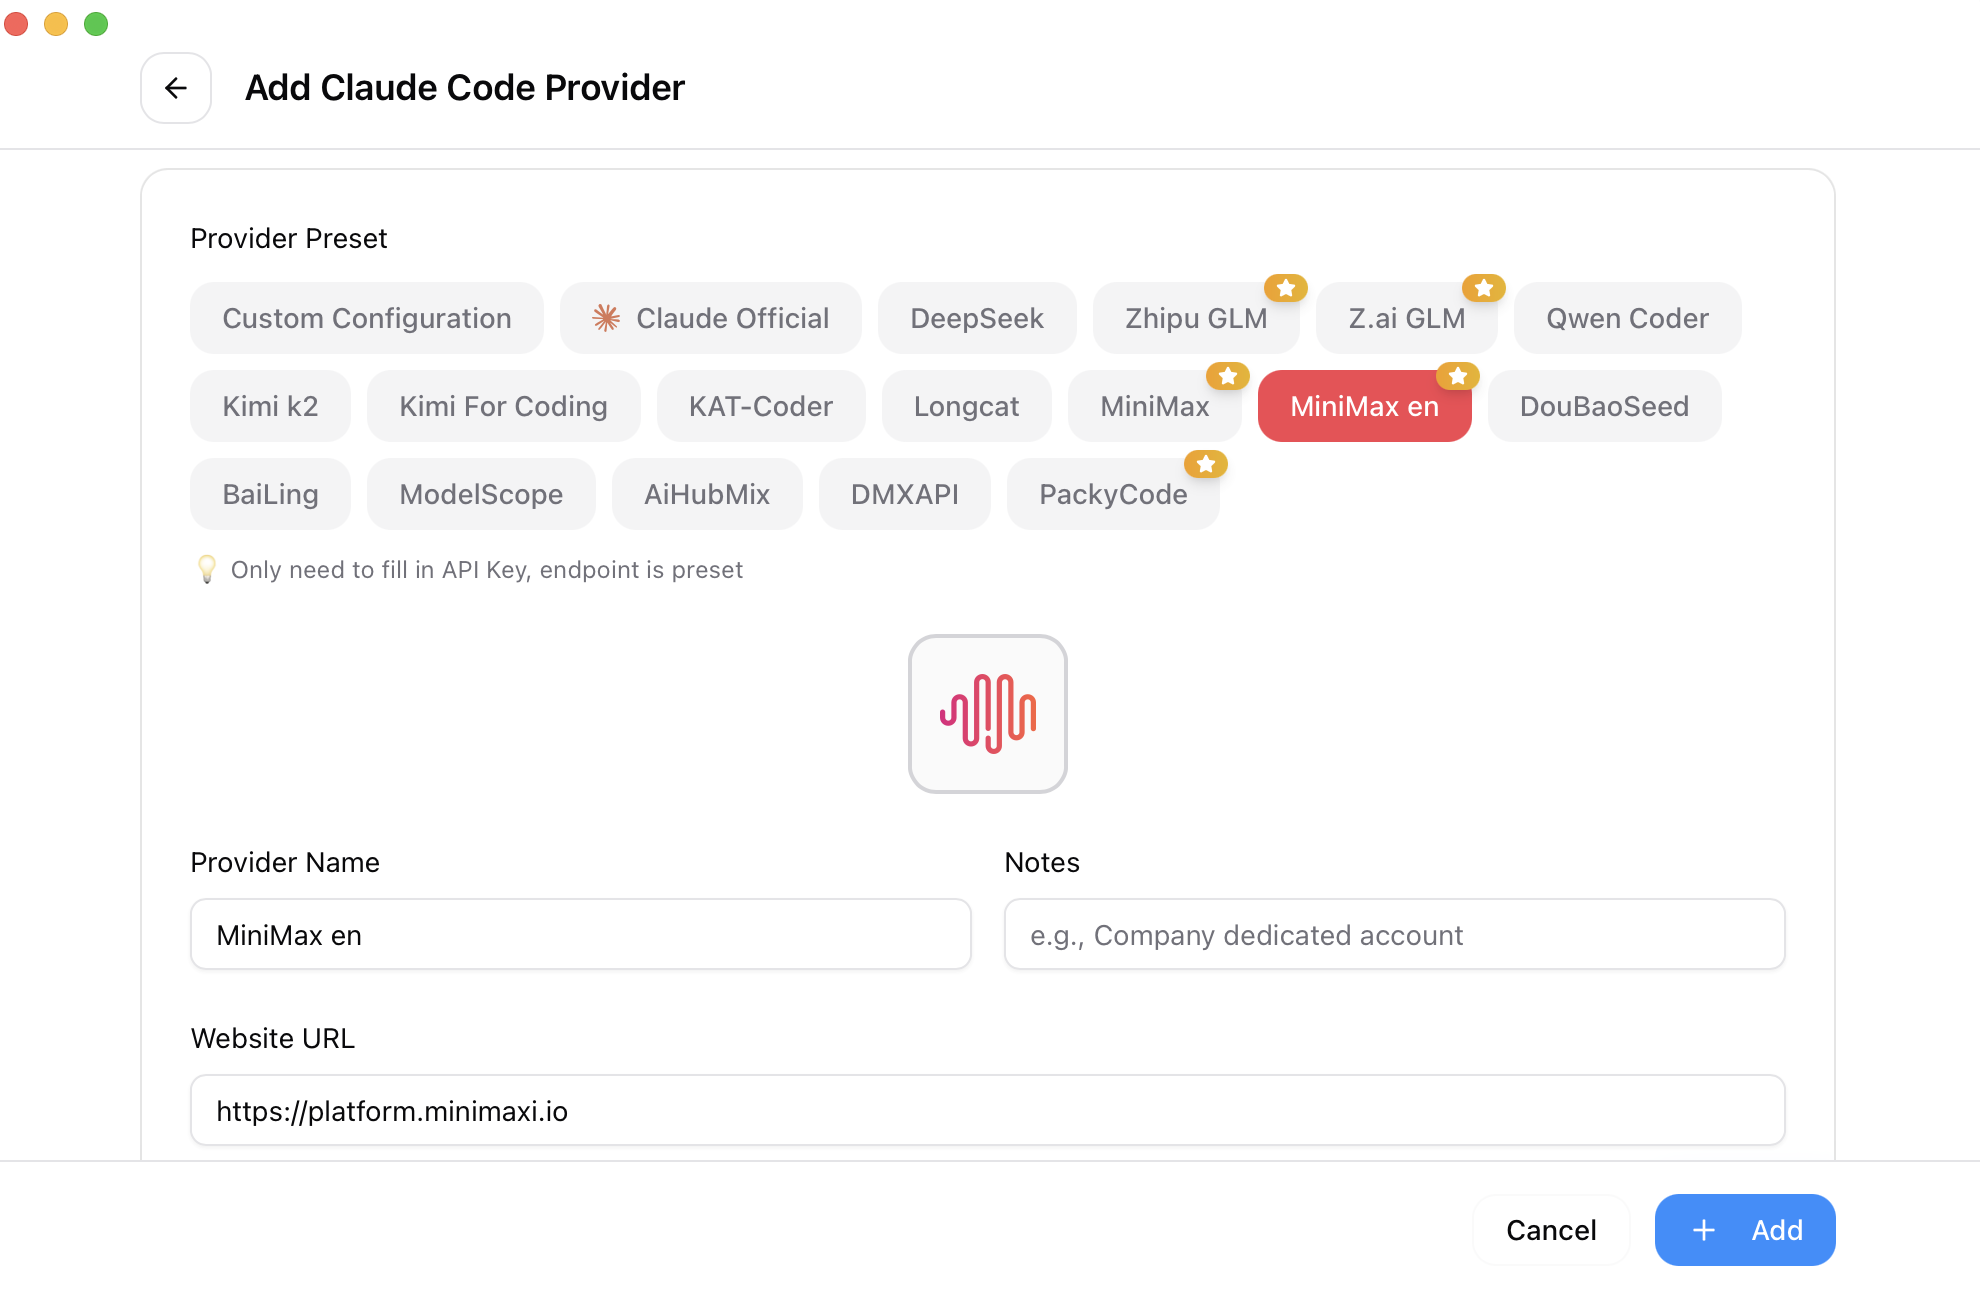
Choose Codex, then Custom. The available presets can change between CC-Switch releases.
02
Equivalent manual configuration
~/.codex/config.toml:
model_provider = "d1v_pai"
model = "<model-id-from-v1-models>"
disable_response_storage = true

[model_providers.d1v_pai]
name = "D1V PAI"
base_url = "https://pai.d1v.ai/v1"
wire_api = "responses"
requires_openai_auth = true~/.codex/auth.json:
{ "OPENAI_API_KEY": "<D1V_PAI_API_KEY>" }03
Verify Codex
cc-switch --app codex env check
cc-switch --app codex provider current
codex
Ask for a small read-only task first. A 401 means the key is wrong or overridden; a 404 usually means /v1 was removed or duplicated; “model not found” means the configured ID does not match the current /models response.
04