D1V Docs / CLI / 5 sections
Install and configure CC-Switch for D1V PAI
Use one desktop app to manage multiple provider credentials, generated CLI configuration, and model mappings. Claude Code does not require it for D1V PAI.
01
Before you start
Complete the Dashboard credential steps first. You need:
D1V_PAI_BASE_URL, normallyhttps://pai.d1v.ai/v1D1V_PAI_API_KEY, scoped to one project environment- A model ID returned by
GET /models
Use CC Switch 3.17.0 or newer for OpenAI Responses routing. Never choose a preset for another API provider: add a Custom provider so the endpoint remains D1V PAI.
02
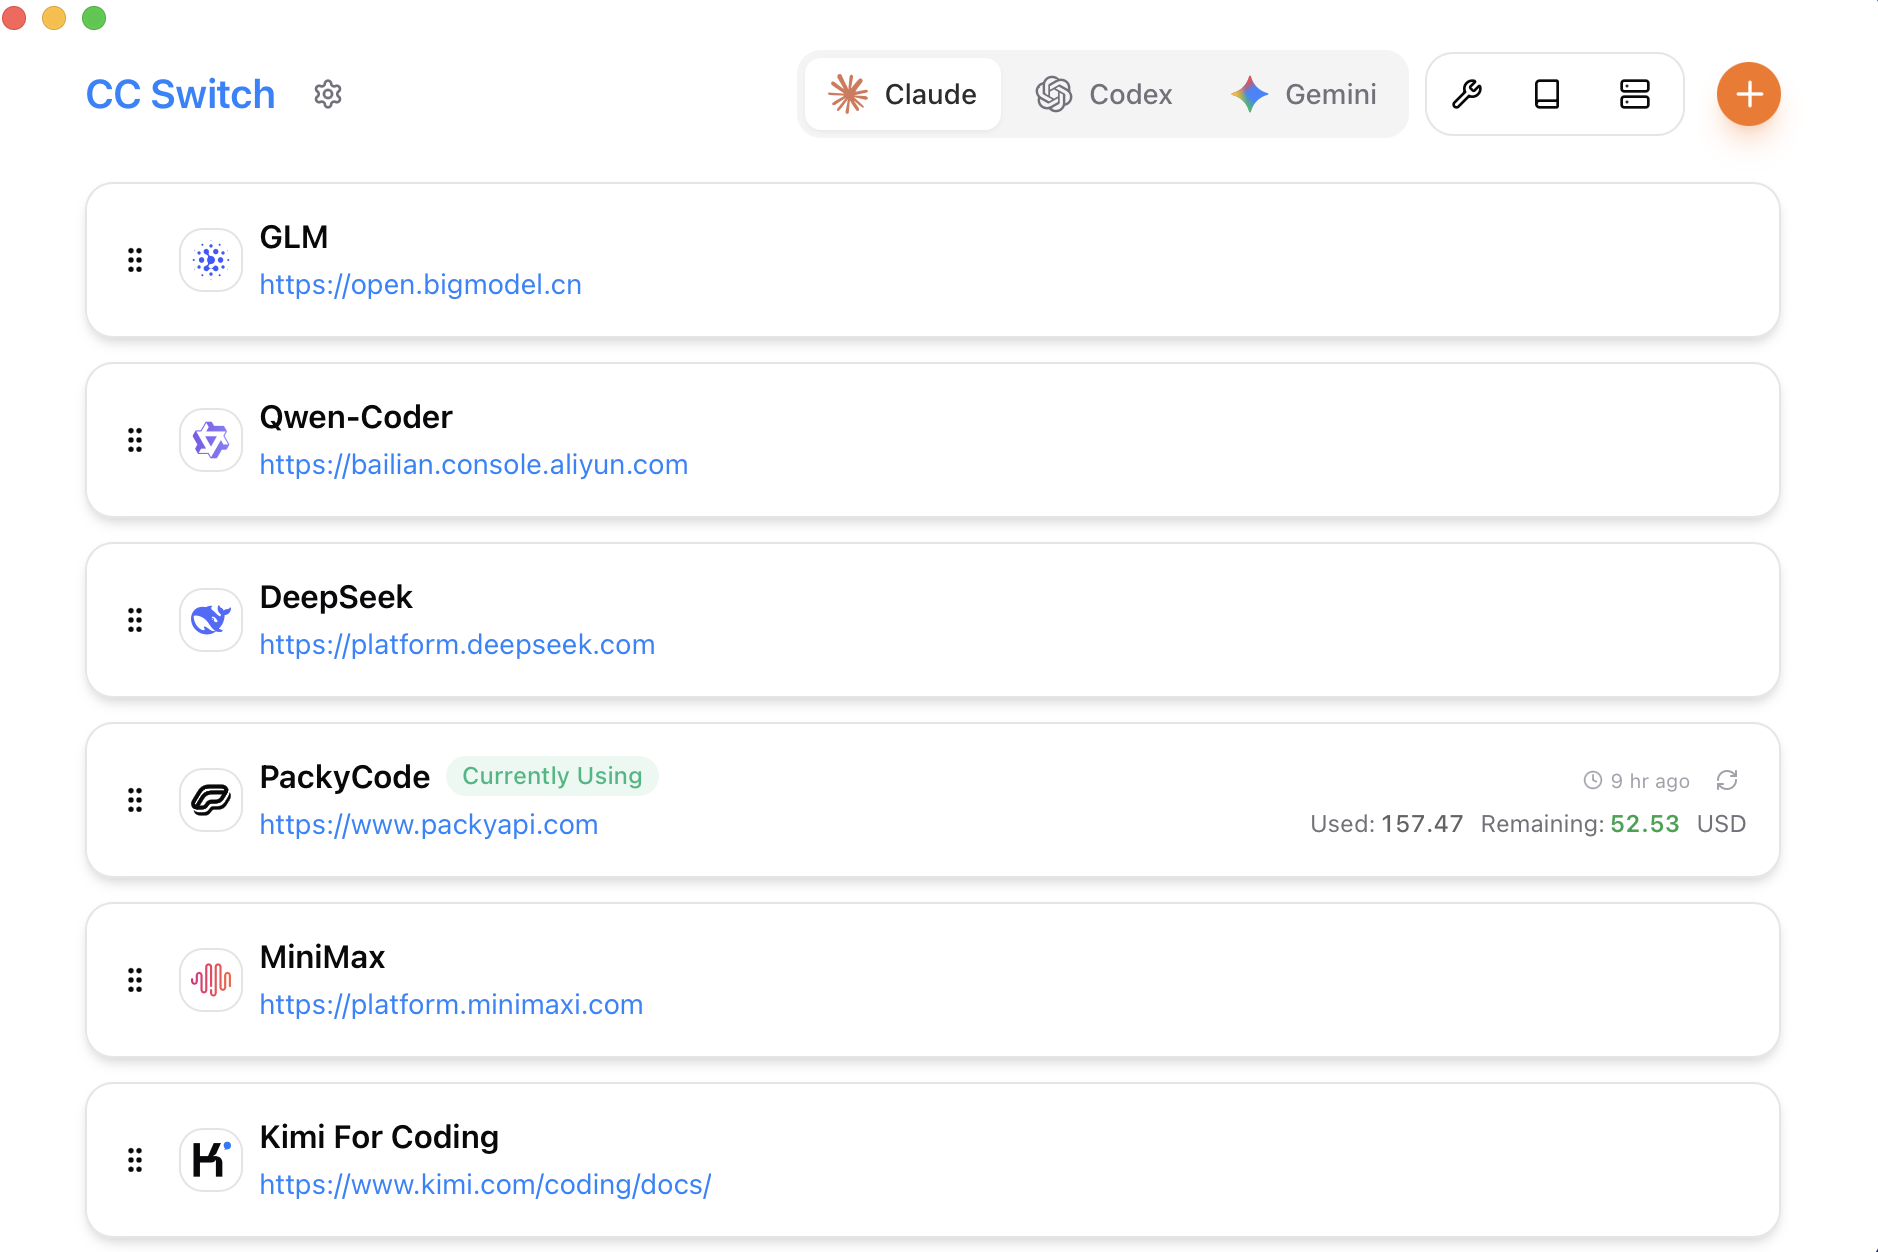
Install the desktop app
Download the current release from CC-Switch Releases. On macOS:
brew tap farion1231/ccswitch
brew install --cask cc-switch
Initialize each target CLI once before CC-Switch manages it: codex --help, claude --help, or the equivalent command for your client.
03
Add a custom provider
- 1Select the target application in the top app switcher.
- 2Click +, keep the application-specific provider tab, then select Custom.
- 3Name it
D1V PAIand paste the project key only into the API Key field. - 4Use the protocol values from the focused client guide. Codex uses Responses; Claude Code can use native Anthropic Messages directly, with local routing reserved for optional protocol conversion.
- 5Save and enable the provider, then restart the target application or terminal process.
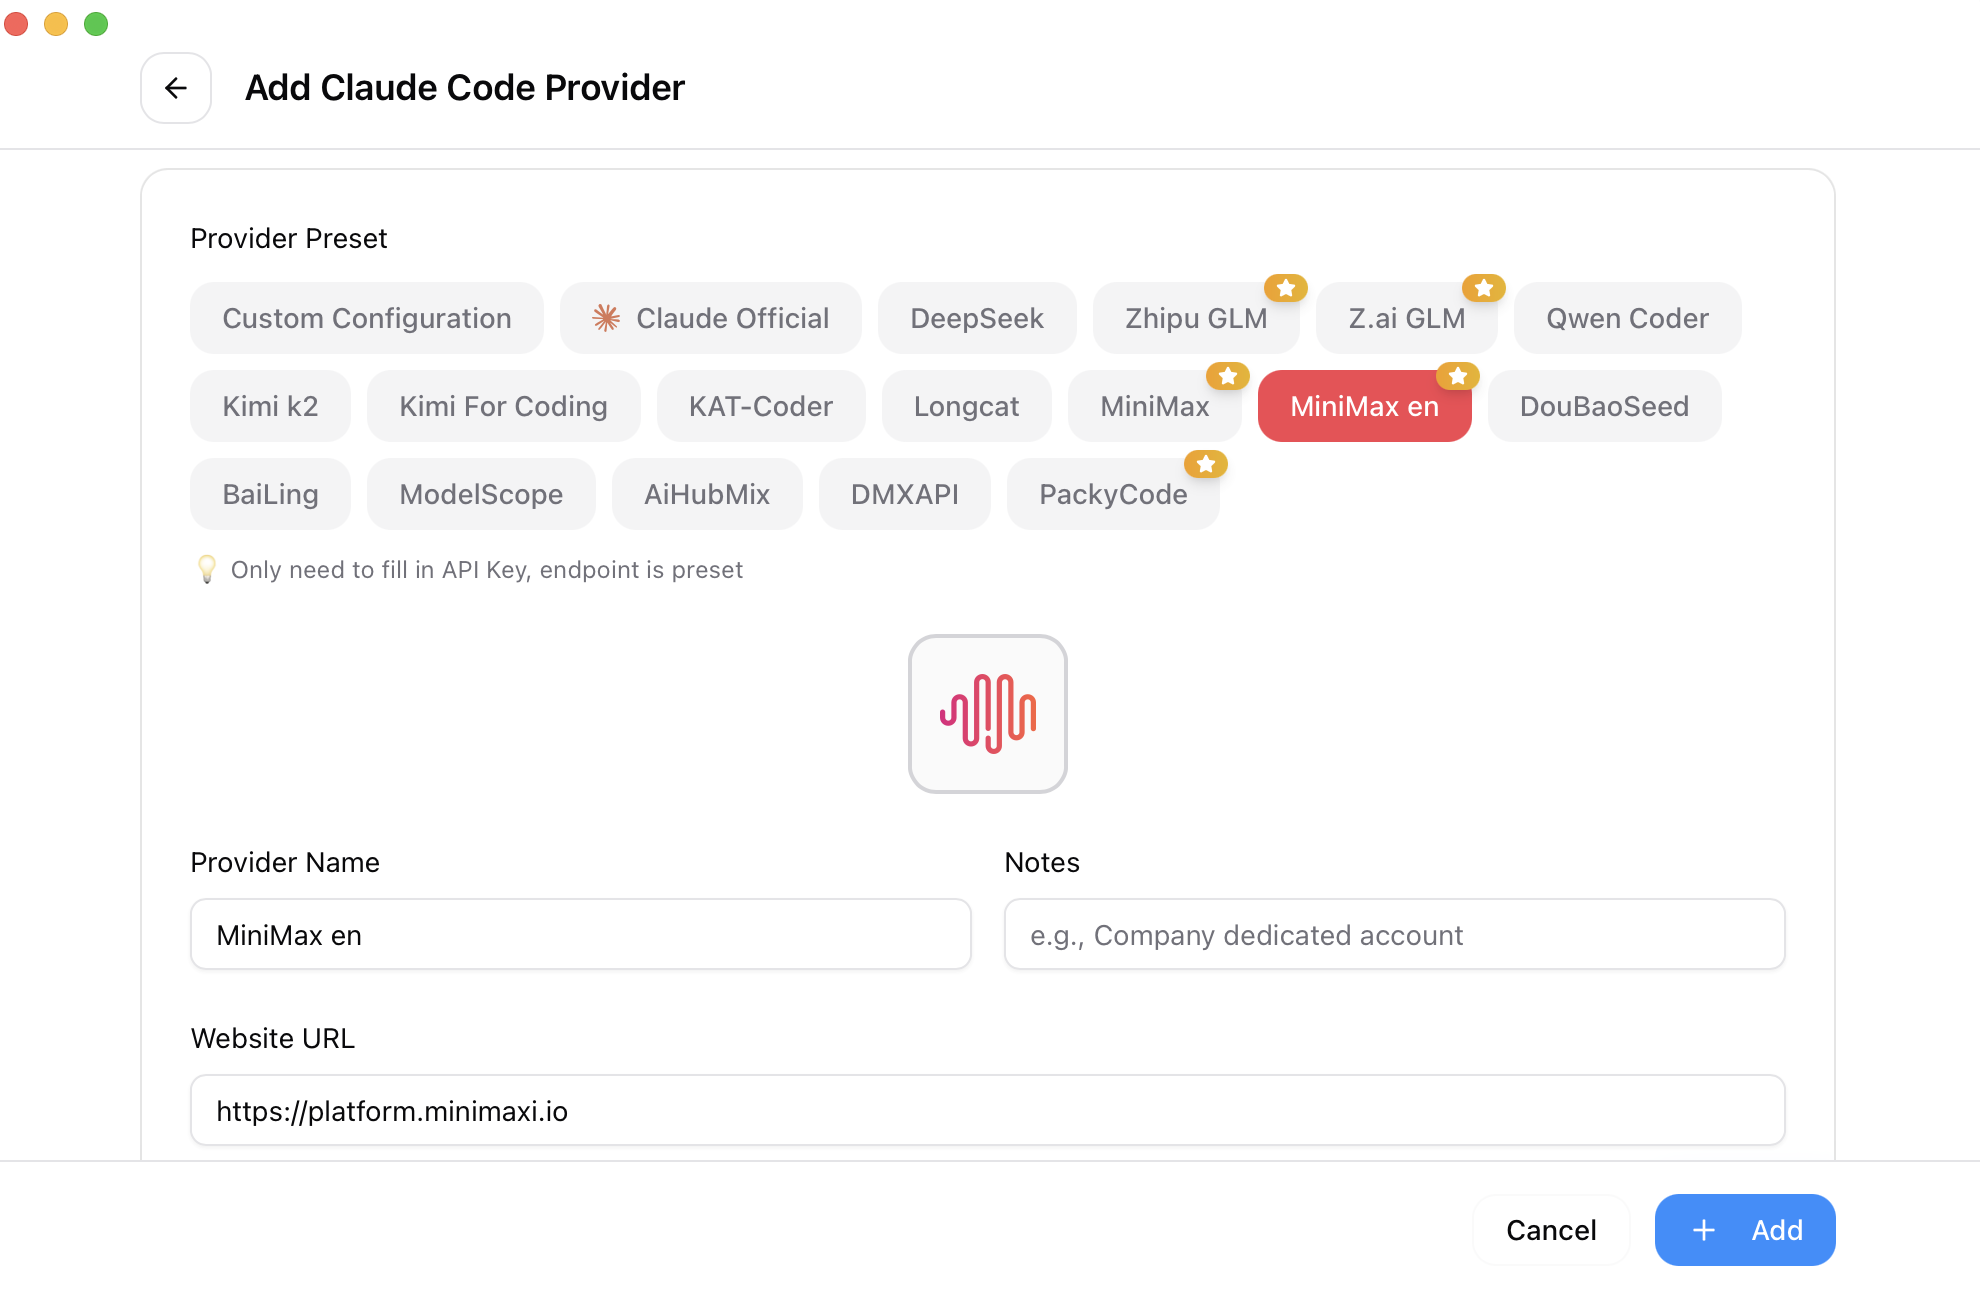
The current add-provider screen. Choose Custom rather than another vendor preset. Source: official CC-Switch repository.
04
Protocol map
| Client | Endpoint entered | API format | Local route |
|---|---|---|---|
| Codex | https://pai.d1v.ai/v1 | OpenAI Responses | No |
| Claude Code | https://pai.d1v.ai | Anthropic Messages | No |
| Claude Desktop | https://pai.d1v.ai | OpenAI Responses | Yes |
| OpenAI-compatible client | https://pai.d1v.ai/v1 | OpenAI compatible | Usually no |
Claude Code puts the service root in ANTHROPIC_BASE_URL and requests /v1/messages itself. Claude Desktop uses a different takeover flow; follow its focused guide.
05